Repotting Houseplants
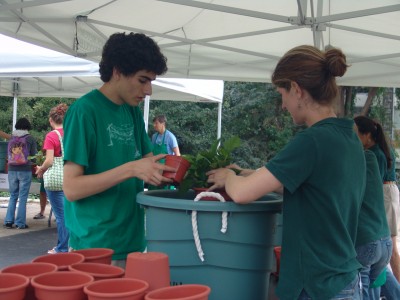
Last week, Swarthmore College and the Scott Arboretum welcomed class of 2012 students to their new home for the next 4 years. While many departments on campus were providing useful information about how to register for e-mail accounts and classes, the Scott Arboretum provided first-year students with houseplants to brighten their new dorm rooms.
After students chose the ideal plant for their light conditions, we helped them repot their plant into a larger pot to expose students to the simple joys of working with nature, getting their hands dirty, and to ensure a healthy start for the new houseplant.
I am sure we all have houseplants at home that could use some repotting, so here are some pointers we gave students that you might find useful.
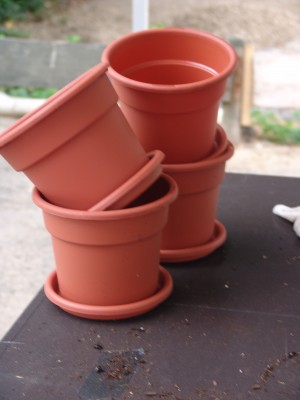
1.First choose your container. Ensure that your pot is one to two sizes larger than the existing container to allow the plant room to grow. We recommend a container with holes in the bottom and a saucer to allow excess water to drain out of the pot.
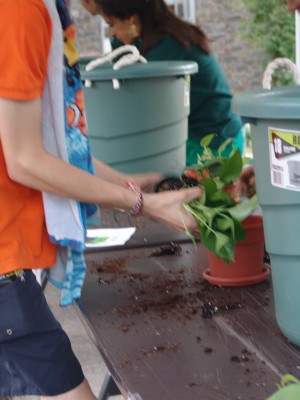
2. Place a layer of potting mix in the bottom of the new container. To guesstimate the amount of potting mix to initially place in the new container, add soil and rest your existing potted plant in the new container. If the existing potted plant soil level is even with the new container’s rim you have added enough potting mix.
We use Organic Mechnics as the potting mix in all our containers because it is a peat-free potting soil. We also provide this mixture to Swarthmore students for their new houseplants. To learn about this potting soil, click here.
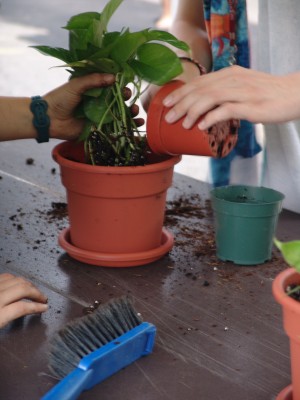
3. Now, remove the plant from its existing pot. Simply turn the plant upside down with your hand holding in the soil and surrounding the stem. Tap, squeeze, and twist the pot with your other hand until the pot comes away from the roots.
4. Inspect the roots to ensure they are not root bound or growing in the circular shape of the plant’s pot. If they are, use a sharp knife and cut the roots. This is done to prevent the plant from continuing to grow within those dimensions eventually strangling itself with its roots.
5. Next, place the plant in the new container and fill around the sides of the root ball with potting mix until it is even with the existing soil line of the plant. Gently tap the potting mix down to ensure the plant is firmly in the new container.
6. Finally, water the plant until water appears in your saucer.
I wish all the freshmen luck with their new houseplants and may they survive and thrive until graduation day.





No Comments